http://northcrestmodern.blogspot.com/2010/04/carpenter-bee-traps.html
I don't condone killing the bees unless they're a nuisance (in my case they make cheese of my house - with so much wood in the ceilings and eaves). This is one alternative that doesn't involve pesticides.
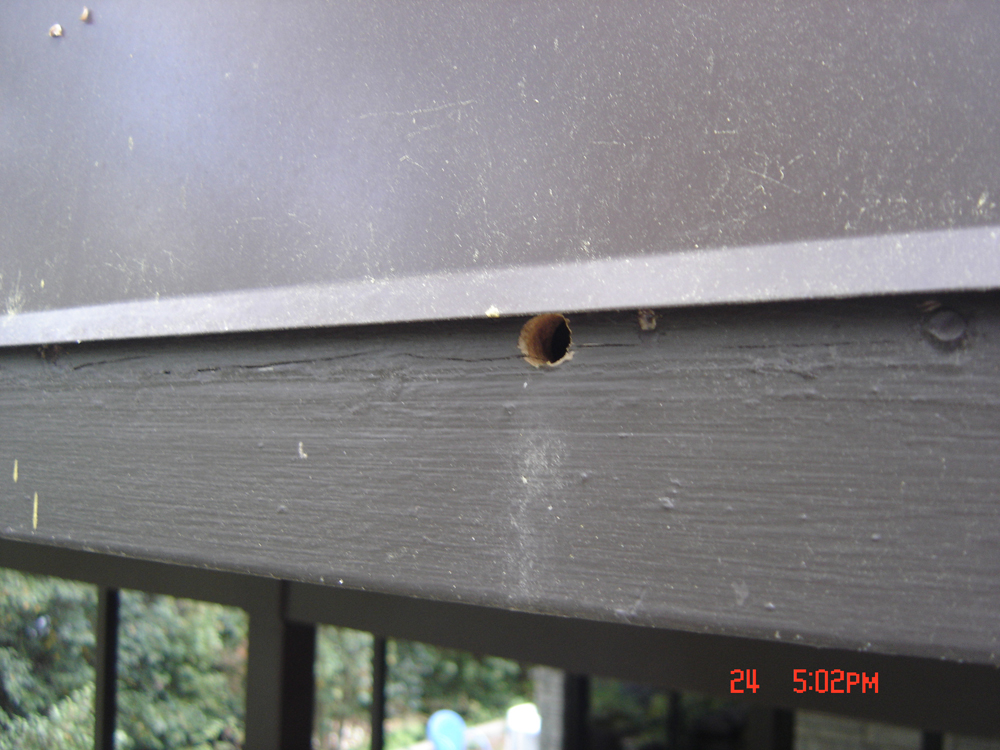 |
| What the bee holes look like |
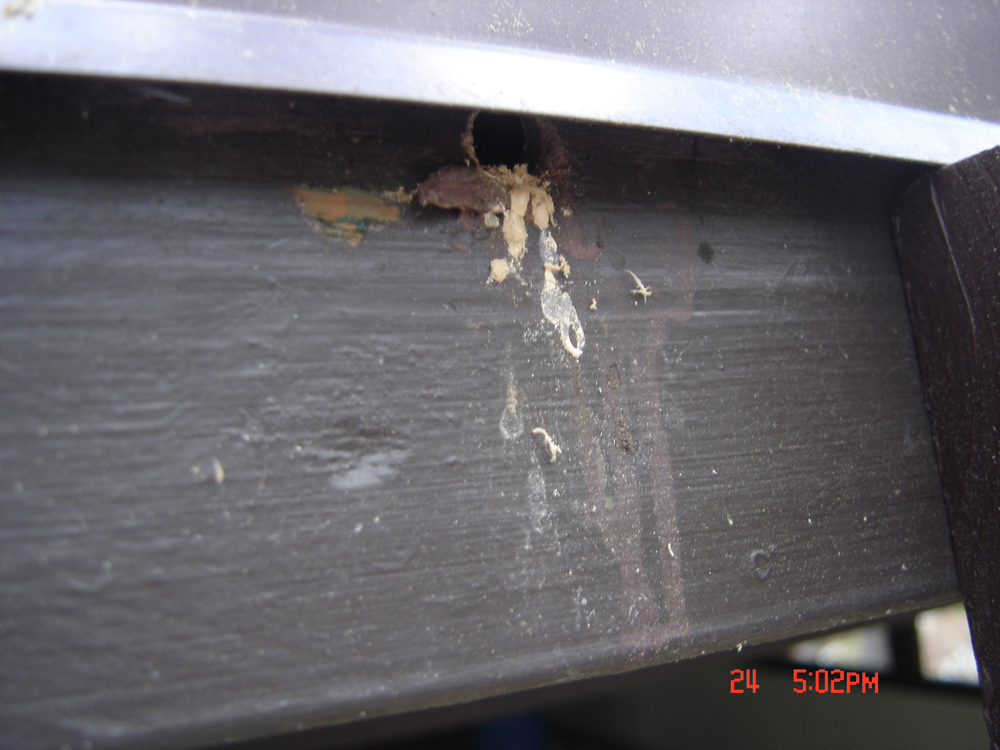 |
| Repaired hole, reopened by bees |
There were a couple of things I didn't like about the design of those traps - the main one had to do with durability - the thin plywood began to delaminate with exposure to rain, etc - also the wood surfaces stained and were getting moldy. Plus I just thought they looked ugly hanging there with this long set of bottles underneath.
 |
| After one season of use |

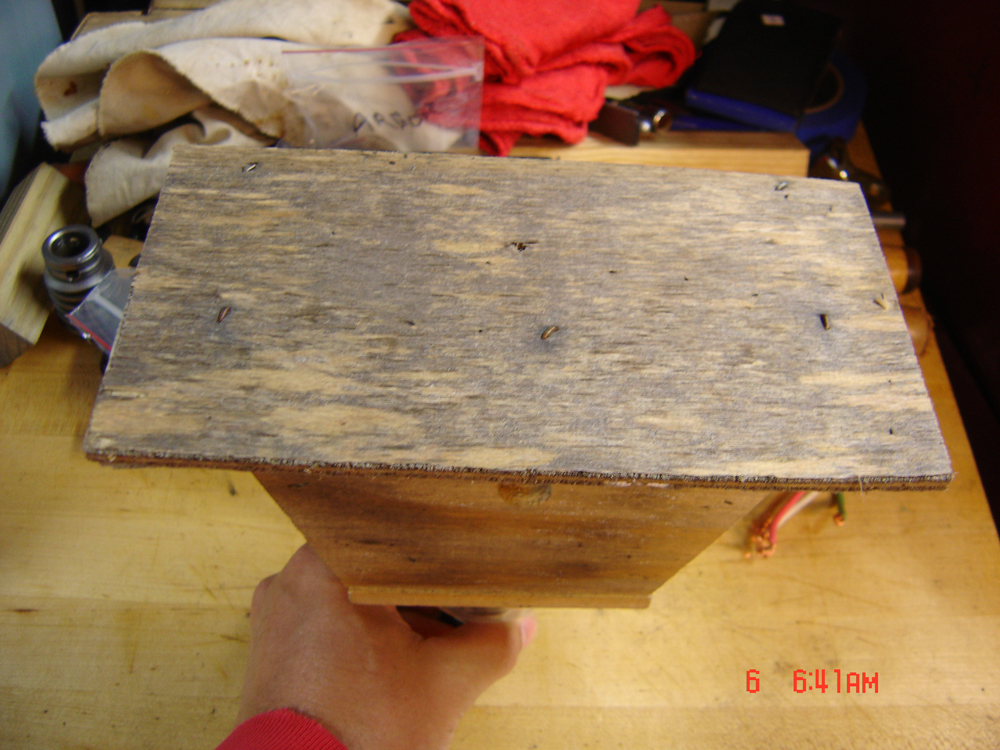
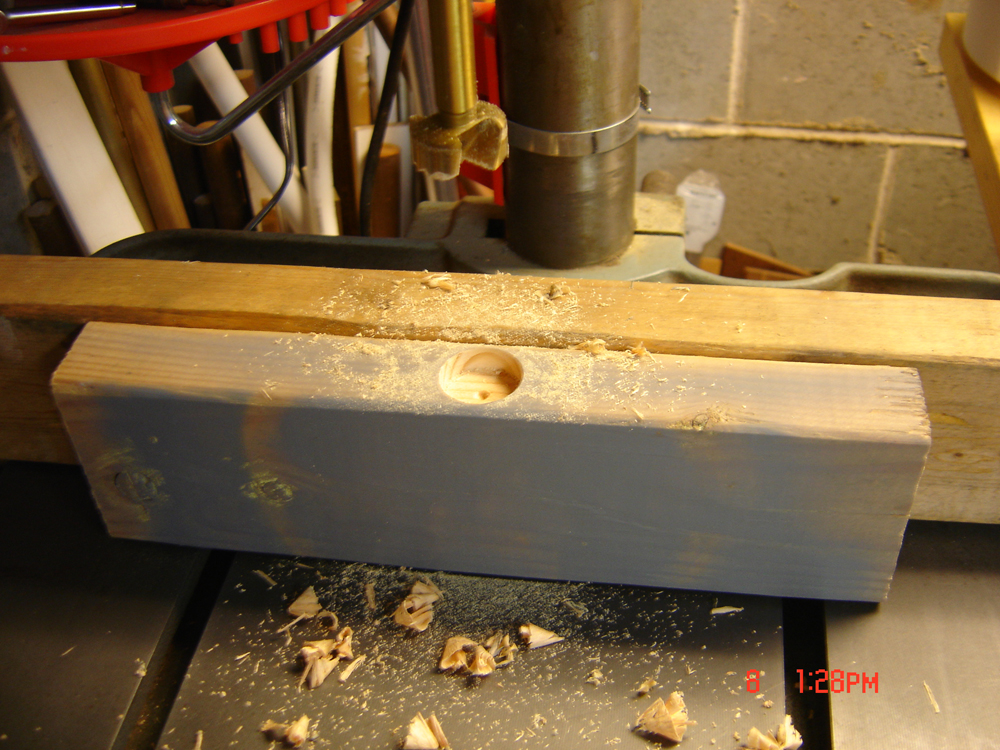
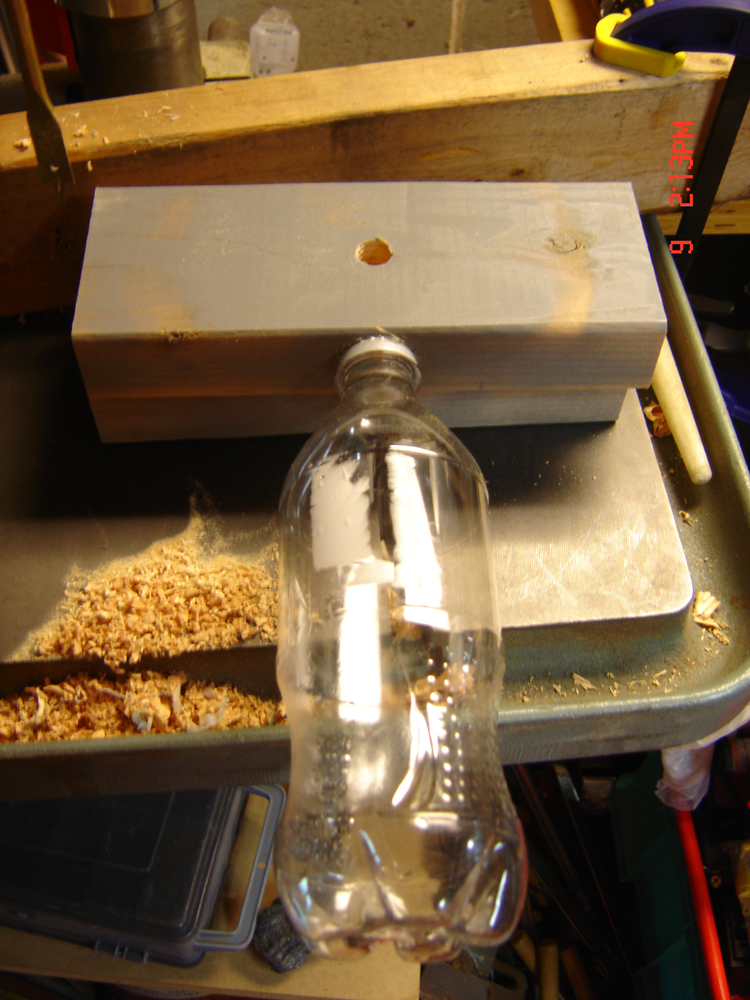
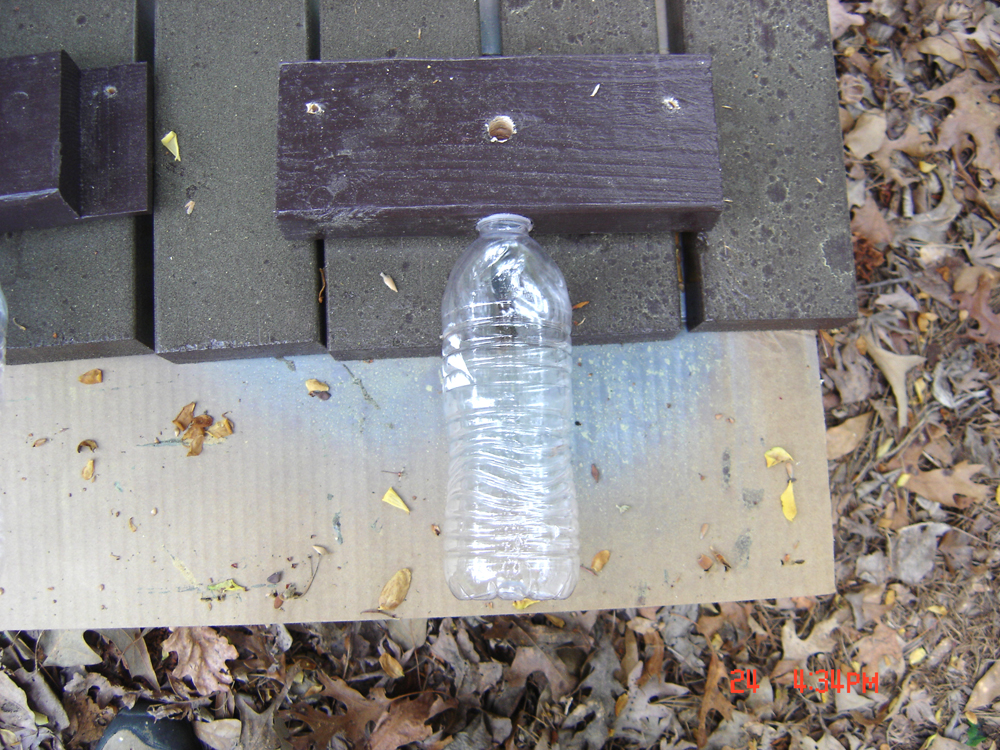
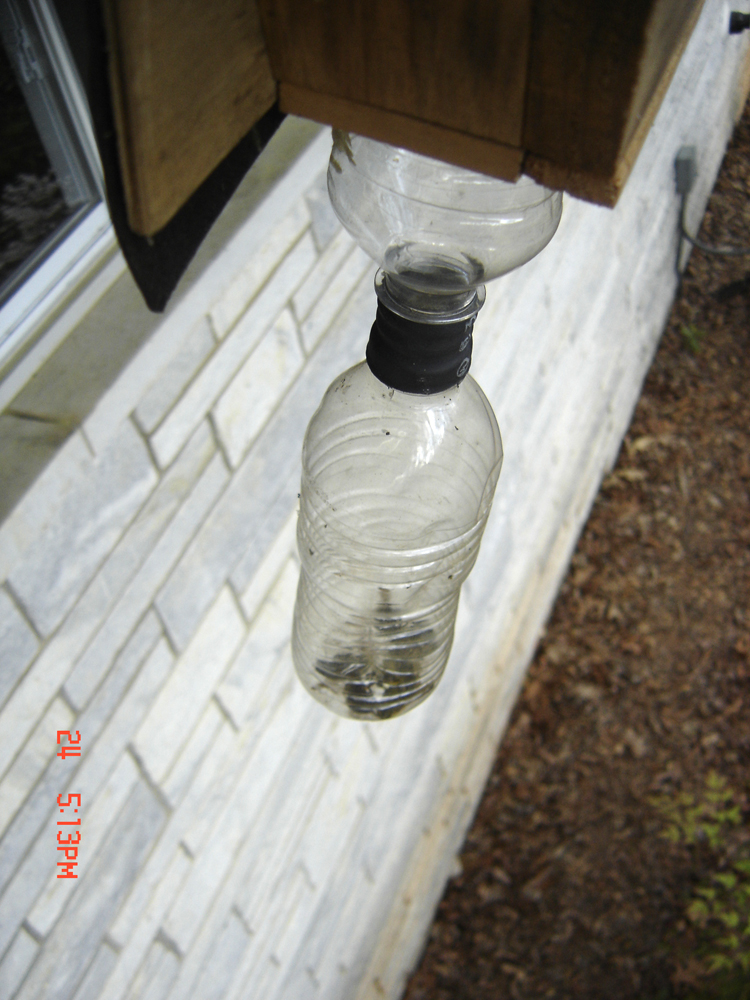
So after I took them down and examined the results (above) of a season of use, my initial thought was that I could paint them and put some roofing felt on thier tops (I have two) to keep them out of the weather a bit - all that seemed like a lot of effort for something that's basically made of scrap wood, stapled together. I decided to make up something of my own design. My goals: 1) keep it simple in construction; 2) something easy to make; 3) with a minimum profile, and 4) durability to weather. What I came up with is a length of scrap tubafore, with a couple of holes drilled in it. The cap of a bottle would be glued into a countersink on the bottom, eliminating the need for two bottles.
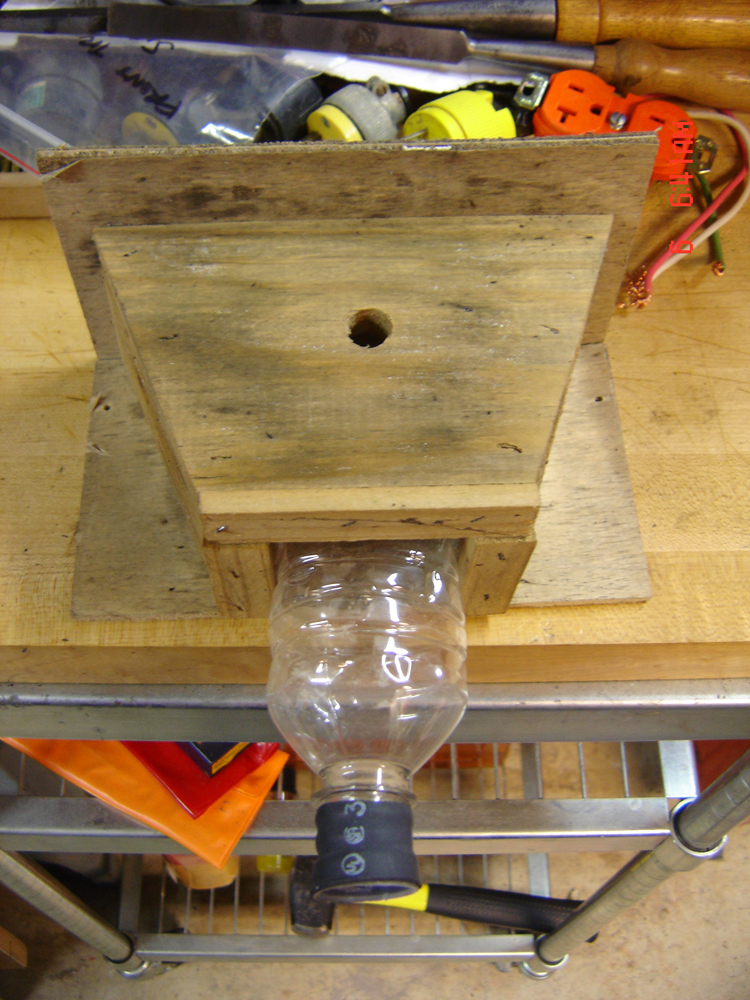
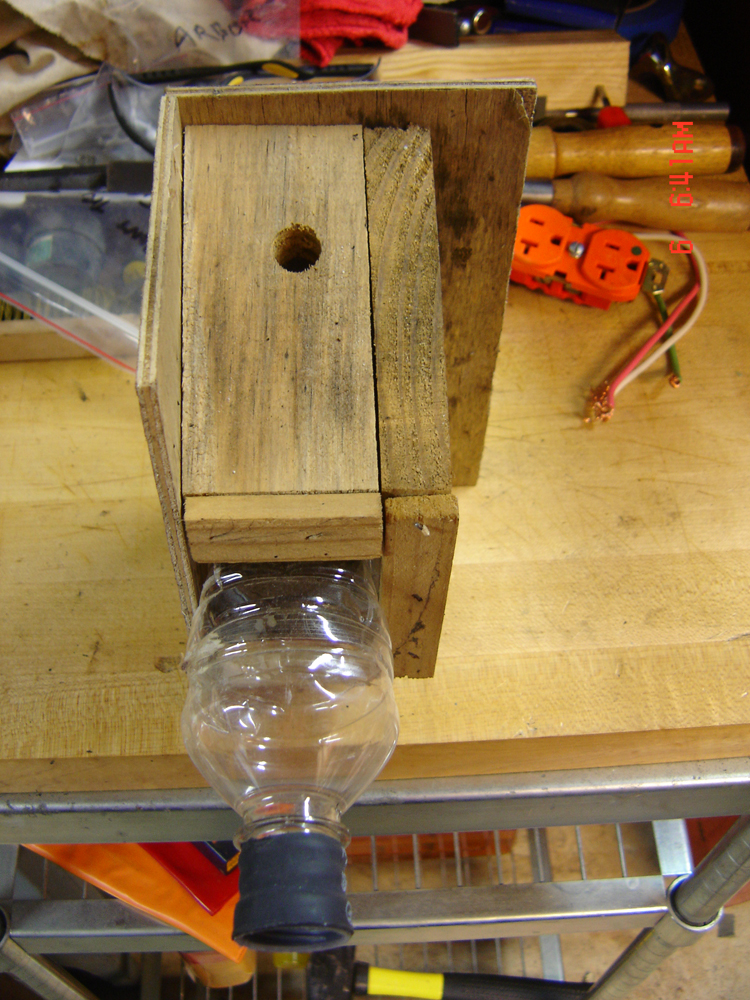
This was my prototype:
 |
| I had this "Goop" adhesive laying around -worked well! |
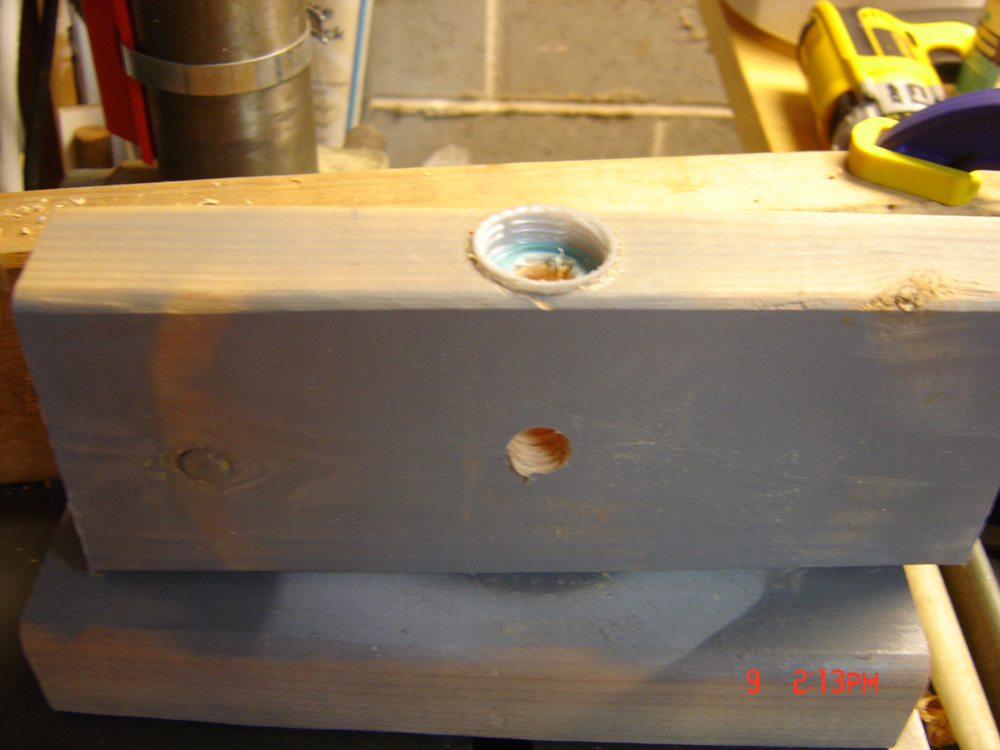 |
| Drill through the cap |
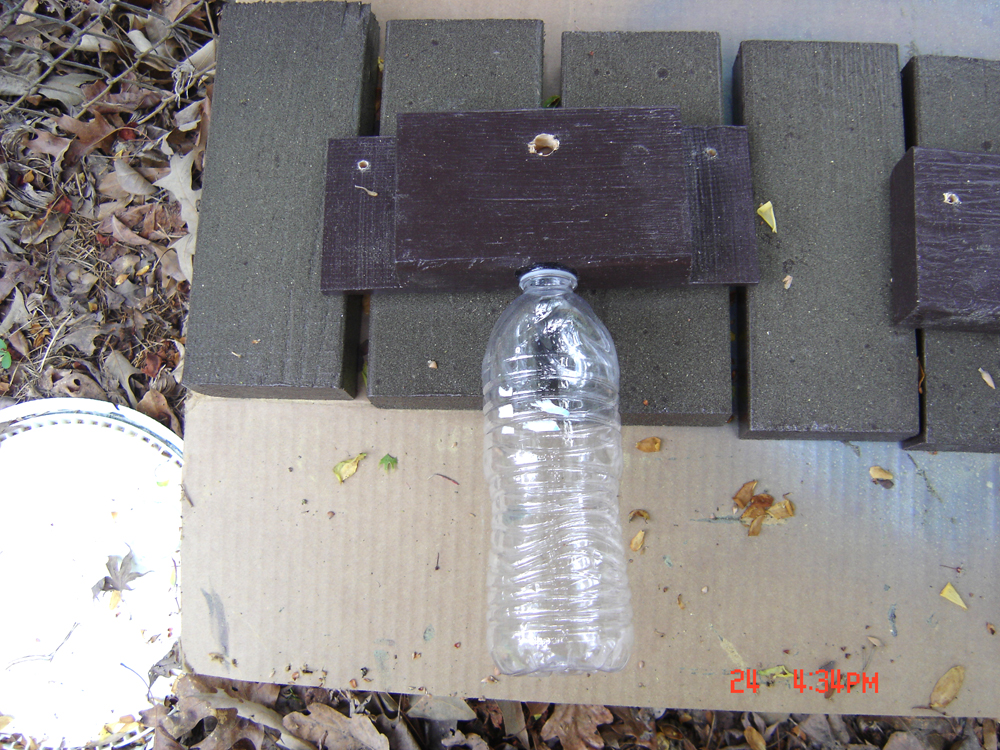
Last year frankly there weren't enough bees to really mess with the traps. I think the previous year's traps basically "did the job" and eliminated most from the house along with their progeny. This year they were out once again and in numbers, so I revisited my earlier redesign and put a couple up - both the original design and my new design, for a comparison. I did paint my prototype before hanging.
 |
| Similar to prototype |
The results after a couple of days:
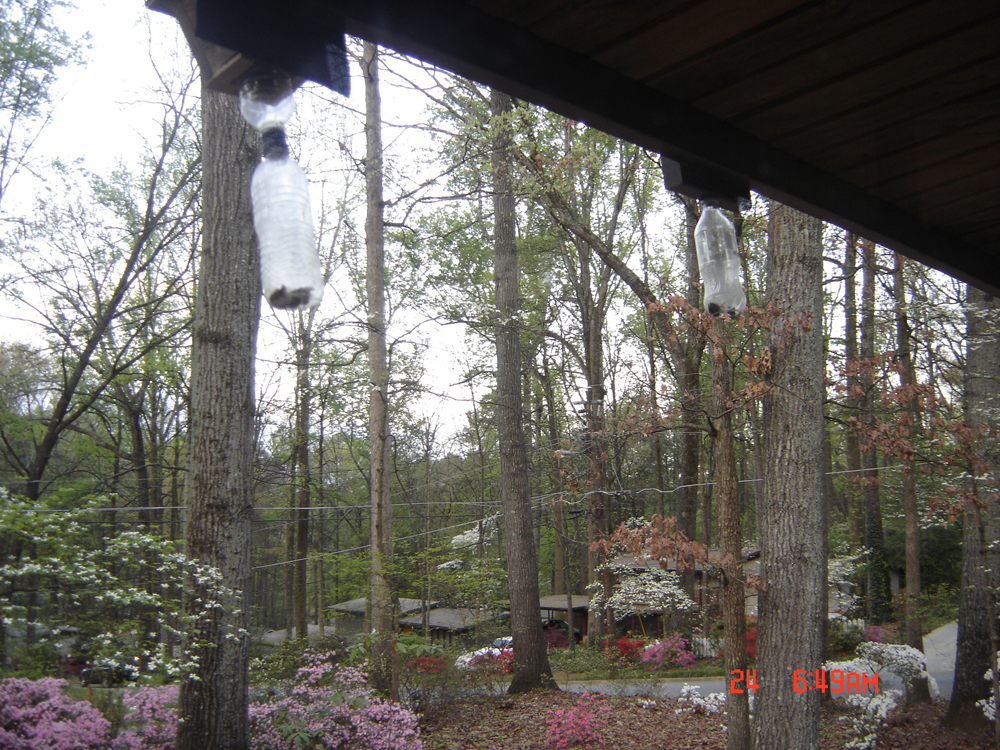
As you can see, my new design on the right (this is looking out of a window under the South eave of my house) is just as effective as the original design. So I made a couple of variations of the design and put up some more:
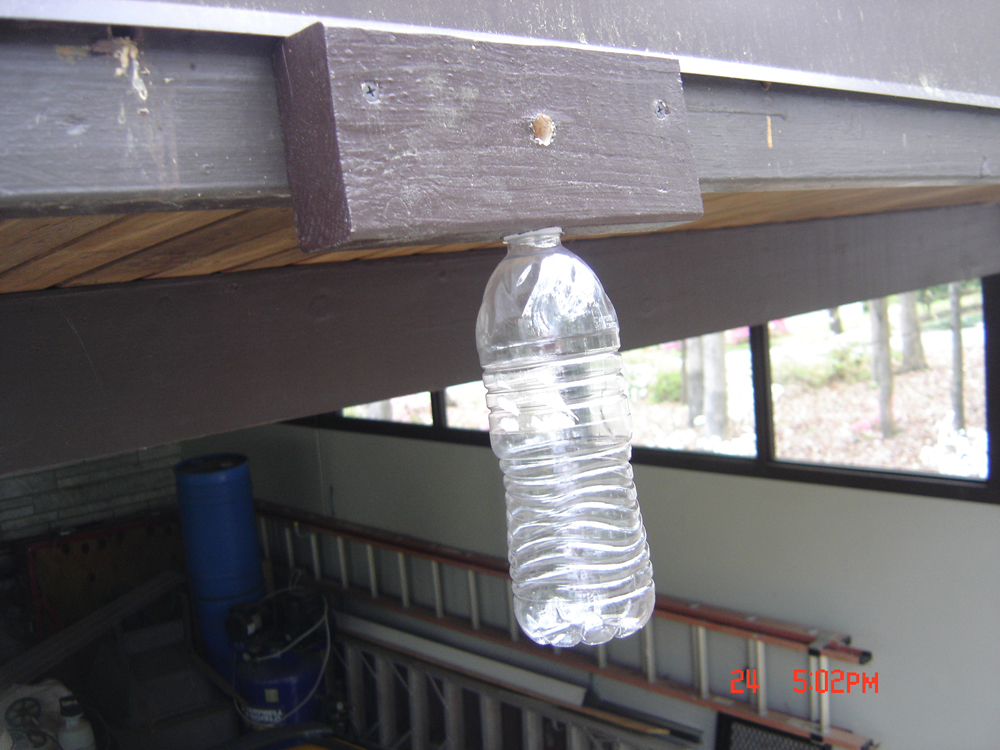
Including this "under mount" version near the downspout - also very effective:
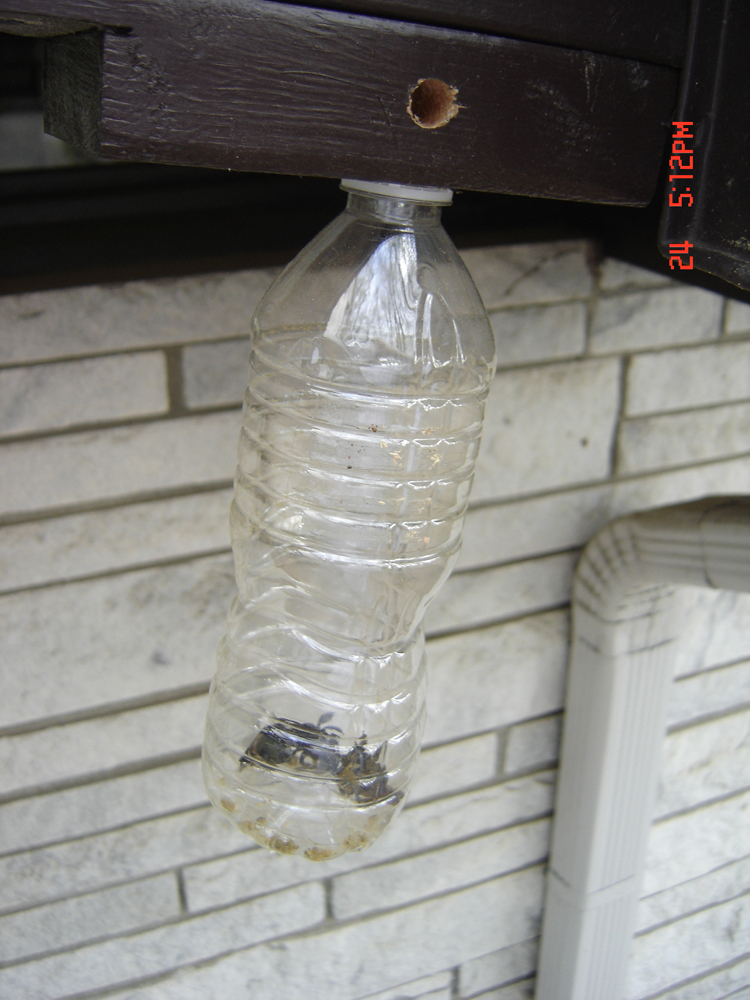
And the results thus far:

And the original:
I think I've gotten about 3 dozen bees so far - it's been 10 days or so. I think you can follow how I made these - very simple if you have a drill press and some Forstner bits but you can probably manage with a spade bit and 9/16" (for the bee hole) bit with some scrap wood. If you paint them (I used a coat of primer and one coat of the trim paint on my house) they'll last for many years - just remember to take them down when the bees are gone.
-- John


