FINALLY, my search panned out a few weeks ago when I bought this:
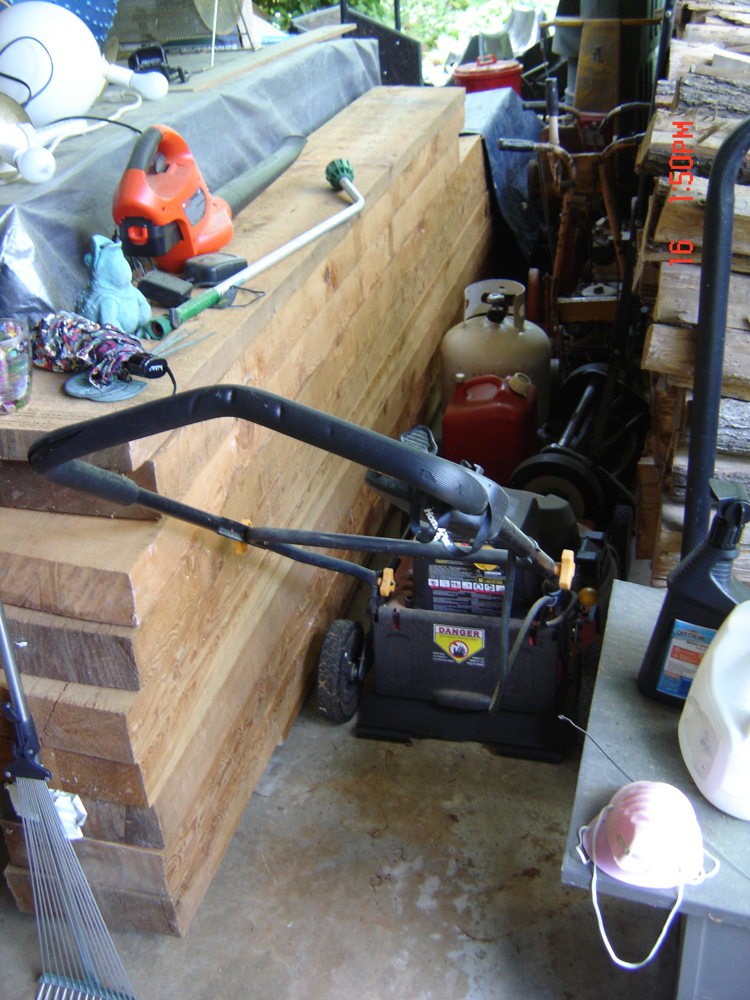
This stack is made of old growth Douglas Fir from the Washington state area. They are 13" wide, 3 1/2" thick and various lengths: the two on top are 8 feet long, the next four are 14 feet long, then the bottom two are about 26 feet in length. There's also a 2" thick board about 8 feet long that was thrown in laying on top. The guy who had them was a home builder who built cabin-type homes in North Georgia and these were some he had saved to use in his own home. Due to the economy he was moving to Boston and didn't want to pay to have these moved. The asking price for the stack was $300 - but he accepted an offer of $250. We (previous owner and myself) moved all of these by hand from being stored in a basement - it was quite a task as they are quite heavy. It was really too much weight for my little HF fold-up 4'x8' trailer - at one point when I went over some RR tracks next to Buford Hwy the trailer came off the hitch and I had to stop and re-hitch - not something I want to experience again as the pucker factor was quite high.
In any case, now that I have way more than I actually need to build the out-building, I thought these could be useful in my design for the rear deck - my thought is to lay these beams in parallel to the existing beams of the house, extending the ends from the back wall to past the deck surface - it would be both period appropriate (may similar designs in my stack of Sunset Books) and tie the deck design back into the house. I would also incorporate some metal pole supports to match the look of other Northcrest Homes - I've already done a bit of replacement work so I've got a source to order the posts locally. Or I may just go with wood supports to match the carport - decisions, decisions...
But hold on - when I approached Cindi on the idea of using them on the back deck, her comment was "first you need to finish the front path" - my original thought on this was to use concrete sono-tubes to make round concrete risers for the whole path leading to an Ipe stoop. A lot of work but it would be spectacular when done. However Cindi has convinced me that a raised wood deck, floating across the front would be easier to build, beautiful and easier to maintain so that's where I'm going. I still need to do some SketchUp plans so we can visualize how this would look - my initial thought is to raise the deck the thickness of pressure-treated 4"x6" timbers, supporting the front where the land slopes so they also parallel the beams on the house. It would neatly wrap-up both front and rear areas for a consistent design. More images to follow as I finish up the SketchUp design (am also doing same for rear deck).
Since it does take some time to finalize the design, I decided to take advantage of the mild weather we've been having (and my current lack of employment), to begin The Dig under my current deck. Since I want the deck to stretch all the way to the back wall of the house, I needed to provide access for Georgia Power to the meter (my current deck has an awkward cut to the deck so you can see the meter from above). My intent is to pour a slab of concrete under the first deck section (up to the first, highest beam), add a retaining wall and dry-in the ceiling above. The space would also allow me to mount a vertical-stack compressor (which is now in the carport) and possibly add a generator down-the-road with a cut-over for when we have those inconvenient outages. Here are the images of "Day 1" - note that I'm slowly removing the existing stairs (made with landscape timbers and egg-rock) and digging into the dirt for the retaining wall.
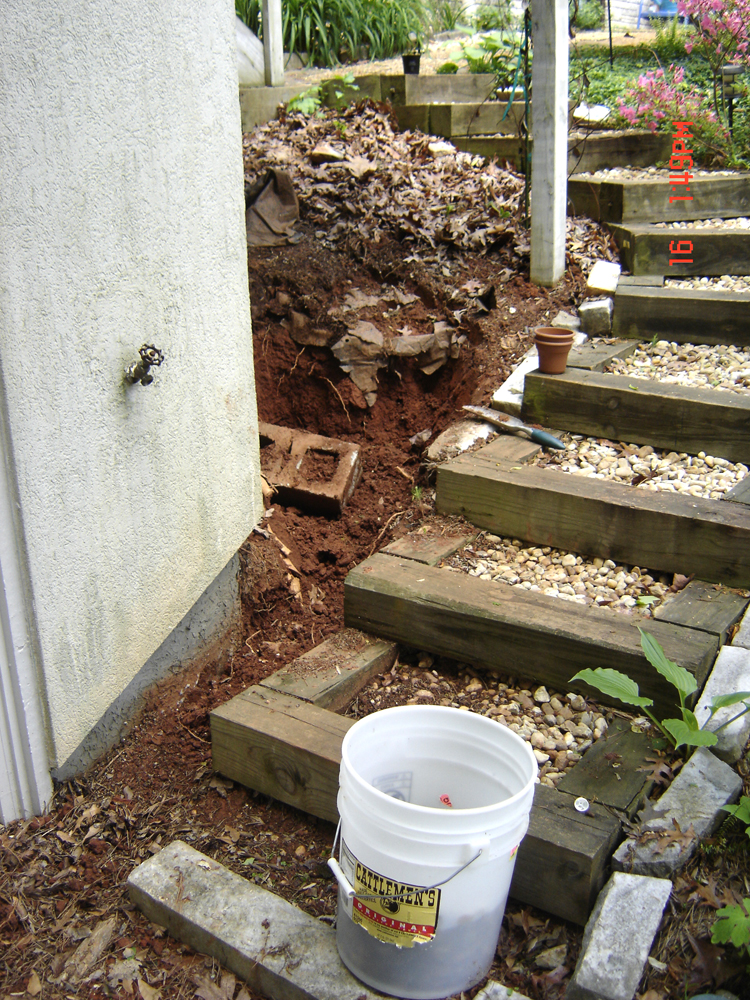 |
| Rocks removed from first two steps |
 |
| Start of dig under deck |
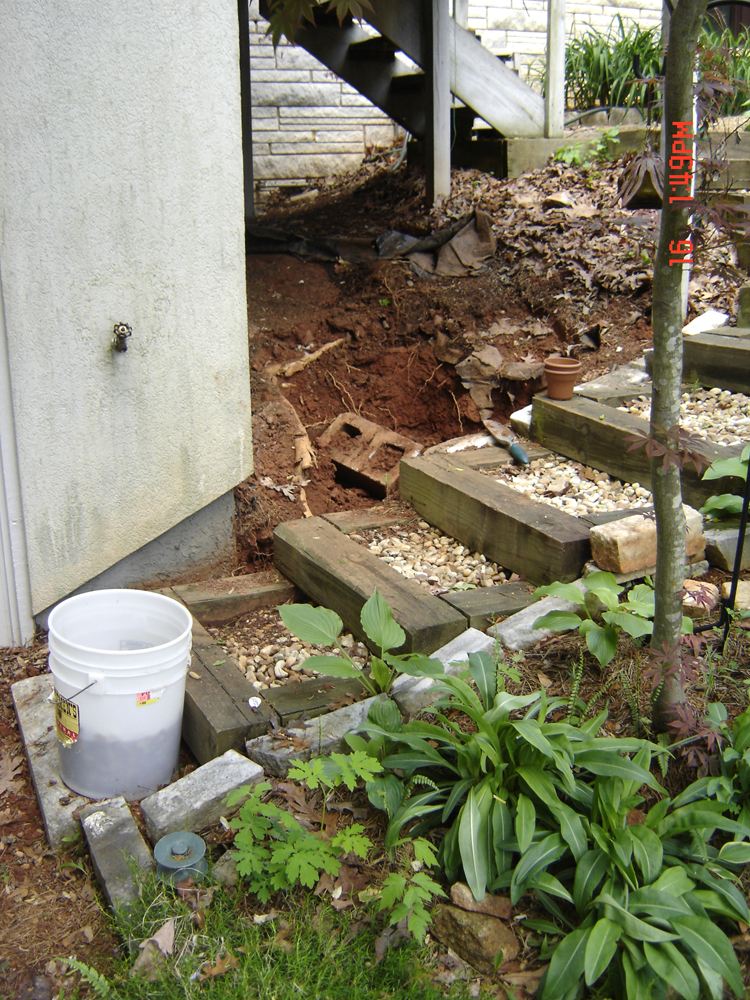
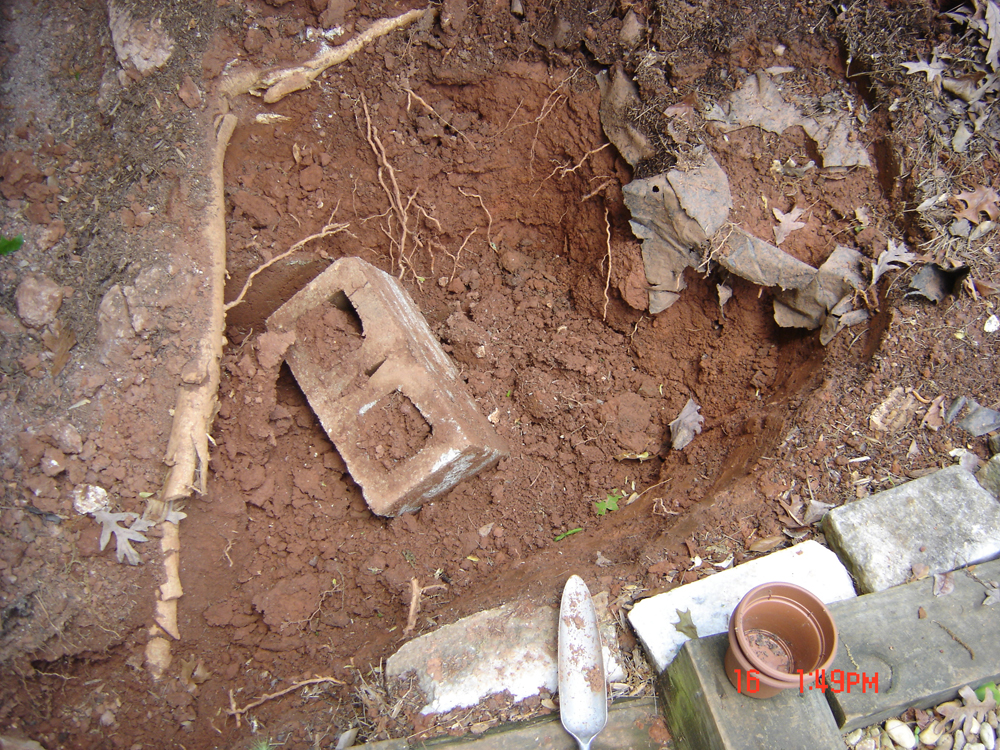 |
| Lots buried under there! |
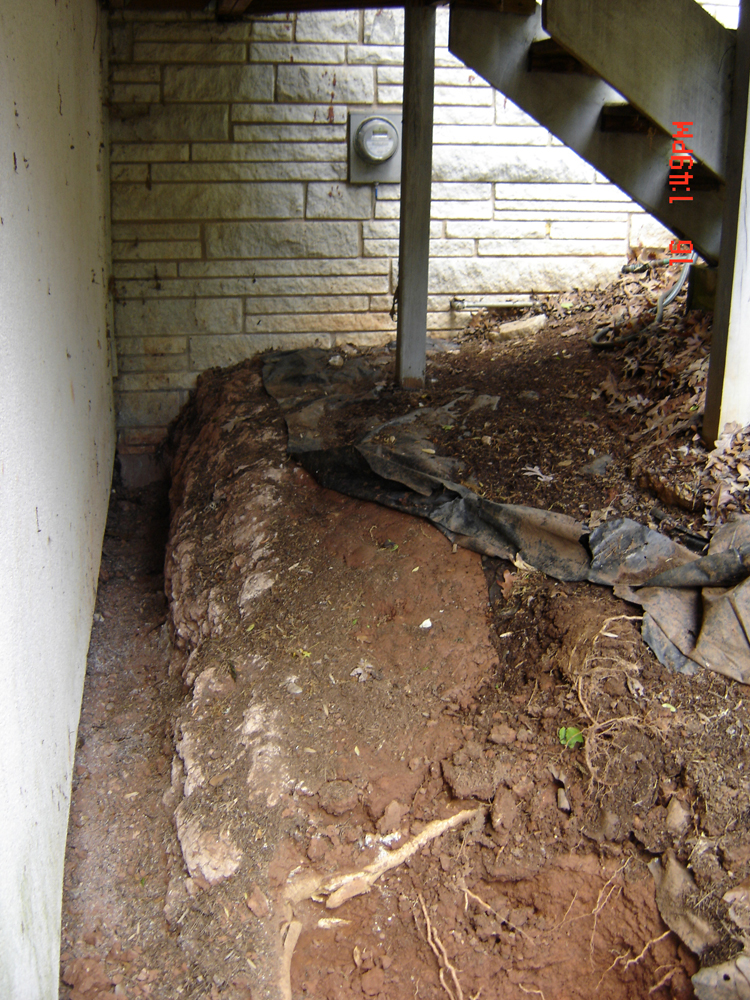 |
| Goal is the far wall under the meter! |
More photos of day 2 and 3 soon.
-- John
All content, including images and editorial, is Copyright © 2002-2011 John Eaton and/or contributors unless otherwise stated. If there are any comments or objections, please contact John Eaton.


No comments:
Post a Comment